
Mastering the Art: How To Tile a Shower Floor Without a Pan
Introduction
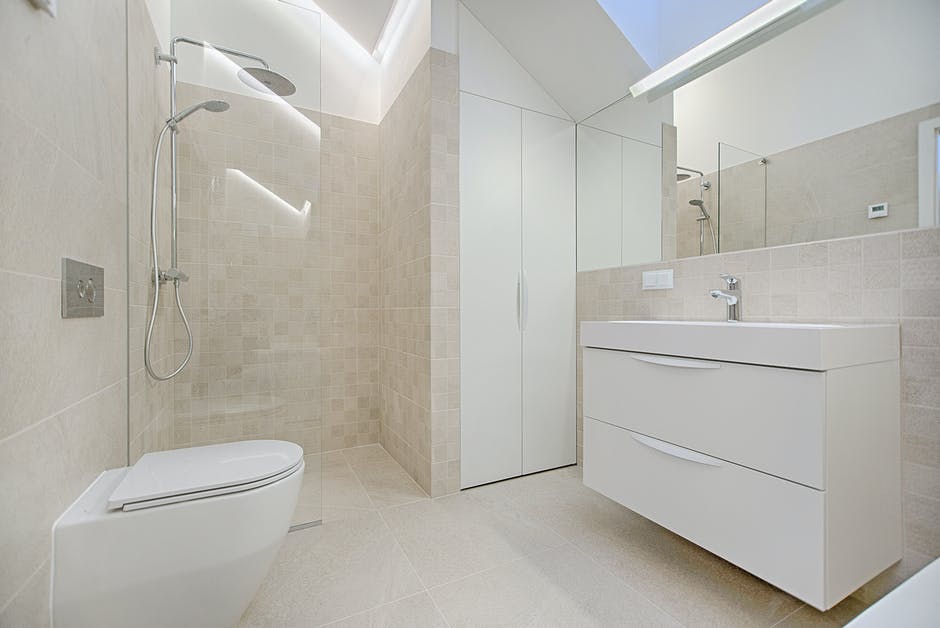
Tiling a shower floor without a traditional pan might seem like a daunting task, but with the right guidance and a bit of confidence, you can achieve a stunning result. This comprehensive guide will walk you through the step-by-step process of tiling a shower floor without a pan, ensuring a water-resistant, durable, and aesthetically pleasing finish.
Table of Contents
- Understanding the Basics
- Materials and Tools You’ll Need
- Preparing the Subfloor
- Applying a Waterproof Membrane
- Creating the Slope for Proper Drainage
- Choosing the Right Tiles
- Setting the Tiles
- Grouting and Sealing
- Common Mistakes to Avoid
- Maintenance Tips
- FAQs: Your Tiling Dilemmas Answered
1. Understanding the Basics
Before diving into the nitty-gritty of the tiling process, it’s essential to grasp the fundamentals. Unlike traditional shower pans, which rely on a pre-formed base, tiling a shower floor without a pan involves building a custom waterproof foundation.
2. Materials and Tools You’ll Need
Gather your arsenal before starting the project. You’ll need basic tools like a notched trowel, tile spacers, and a tile cutter. Invest in quality materials, including cement backer board, waterproof membrane, thin-set mortar, and grout. Don’t forget safety gear like gloves and eye protection.
3. Preparing the Subfloor
Ensure your subfloor is clean, dry, and level. If needed, install a cement backer board, adhering it with thin-set mortar and screws. This stable base provides a solid foundation for your shower floor.
4. Applying a Waterproof Membrane
Waterproofing is critical to prevent moisture from seeping into the subfloor. Apply a high-quality waterproof membrane to the entire shower floor, including seams and corners. This layer acts as a barrier, safeguarding your structure from potential water damage.
5. Creating the Slope for Proper Drainage
One of the key differences when tiling without a pan is the need to create a slope toward the drain manually. Use a self-leveling compound or build up thin-set mortar strategically to establish the necessary slope for effective drainage.
6. Choosing the Right Tiles
Selecting the right tiles is crucial for both functionality and aesthetics. Opt for non-slip tiles with a water absorption rating suitable for a wet environment. Larger tiles can minimize grout lines, simplifying maintenance.
7. Setting the Tiles
Begin setting tiles at the drain and work your way outward. Use a notched trowel to apply thin-set mortar, ensuring even coverage. Insert tile spacers to maintain consistent gaps. Pay attention to your slope as you lay the tiles to guarantee proper drainage.
8. Grouting and Sealing
Once the tiles are set, allow them to cure before grouting. Choose a grout color that complements your tiles and mix it according to the manufacturer’s instructions. After grouting, seal the grout lines to enhance water resistance and protect against stains.
9. Common Mistakes to Avoid
Avoiding common pitfalls is crucial to the success of your tiling project. Mistakes like inadequate waterproofing, uneven slopes, and using the wrong adhesive can lead to issues down the line. Take the time to plan and execute each step meticulously.
10. Maintenance Tips
Proper maintenance ensures the longevity of your tiled shower floor. Regularly clean and inspect the grout lines, resealing them as needed. Address any damaged or loose tiles promptly to prevent water infiltration.
FAQs: Your Tiling Dilemmas Answered
1: Can I tile a shower floor without a pan?
Yes, you can tile a shower floor without a traditional pan by following proper waterproofing and sloping techniques.
2: Do I need a special type of tile for the shower floor?
Choose non-slip tiles with a water absorption rating suitable for wet environments. Larger tiles with fewer grout lines are often recommended.
3: How do I create a slope without a pre-formed pan?
Create the necessary slope by using a self-leveling compound or strategically building up thin-set mortar towards the drain.
4: Can I install tiles directly on the subfloor?
It’s recommended to install a cement backer board over the subfloor to provide a stable and moisture-resistant base for the tiles.
5: How do I choose the right waterproof membrane?
Select a high-quality waterproof membrane designed for wet areas. Ensure it covers the entire shower floor, including seams and corners.
6: What type of thin-set mortar should I use?
Use a thin-set mortar recommended for your specific tile and substrate. Follow the manufacturer’s guidelines for mixing and application.
7: How long should I wait before grouting?
Allow the tiles to cure for the recommended time, typically 24 to 72 hours, before applying grout.
8: Can I reseal the grout myself?
Yes, you can reseal the grout lines yourself. Choose a quality grout sealer and follow the manufacturer’s instructions.
9: What are common mistakes to avoid when tiling a shower floor?
Common mistakes include inadequate waterproofing, uneven slopes, using the wrong adhesive, and neglecting proper curing times. Careful planning and execution can prevent these issues.
10: How can I fix a loose or damaged tile?
Remove the loose or damaged tile, clean the area, apply fresh thin-set mortar, and re-install the tile. Ensure proper alignment and spacing with adjacent tiles.
Conclusion
Tiling a shower floor without a pan requires careful planning, attention to detail, and the right materials. By following the steps outlined in this guide and heeding the FAQs to address potential challenges, you’ll be well on your way to creating a beautiful, functional, and water-resistant shower floor that stands the test of time. Embrace the challenge, and let your creativity shine as you transform your shower space.